

I noticed my NS Excellence award credits earned from my previous ICT was expiring soon. So I went to the online portal to browse through the catalog. Noticing that one of the options was the Copper Lamp and Terrarium workshop, I chose it immediately. This would be our first attempt to craft a terrarium. Check out our review.
MakeYourOwn (MYO)
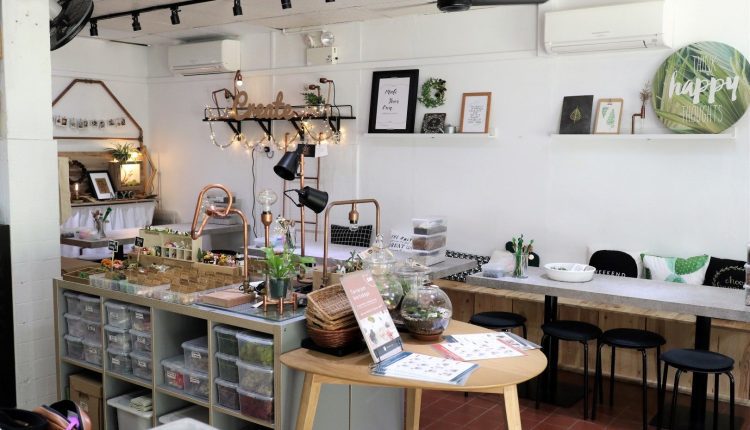
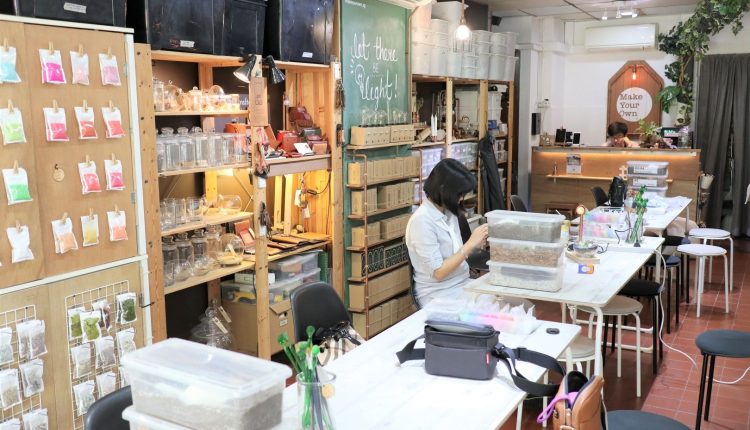
MYO established in 2013, providing workshops for corporate events and to the public. It started off with Copper Lamps and Terrarium workshop as their core businesses but it soon expanded to calligraphy and part of the workshop doubled up as a nice chill out cafe.
Getting to MakeYourOwn
Address: Blk 4, Upper Aljunied Lane #01-06 Singapore 360004
MYO is located on the ground floor of BLK 4. Tucked in a corner, you have to drive to the end of the car park to notice the shop front.
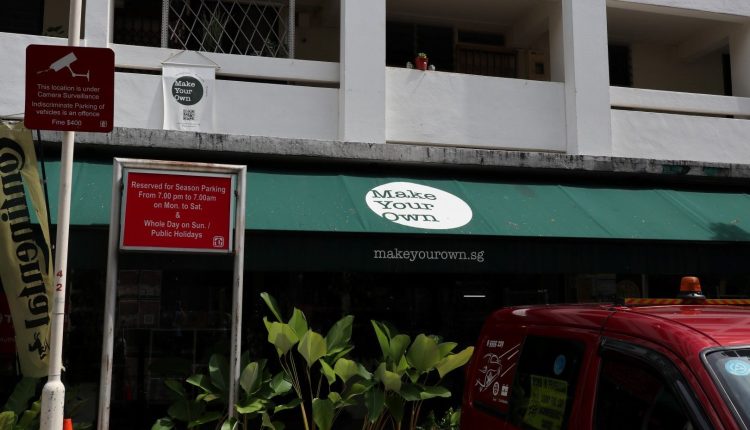
Do remember to drop them an email or call to book your appointment. Sundays and Public Holidays are strictly by appointment only.
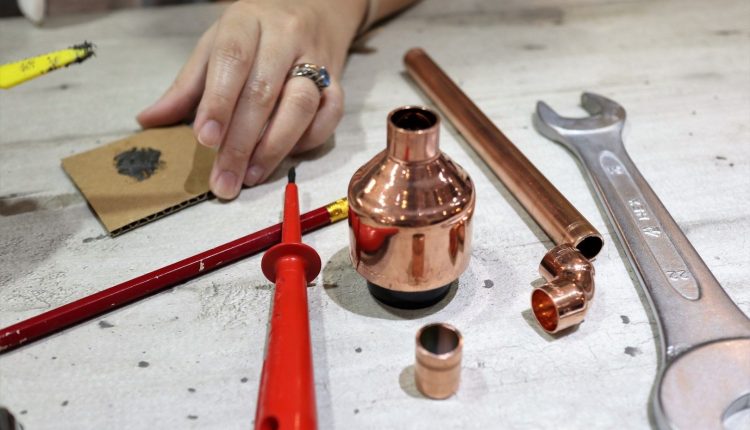
Copper Lamp Workshop (Approx 45 minutes)
Tools laying neatly on the work table caught our attention when we entered the shop. You could tell that the staff upholds a standard of professionalism in their work.
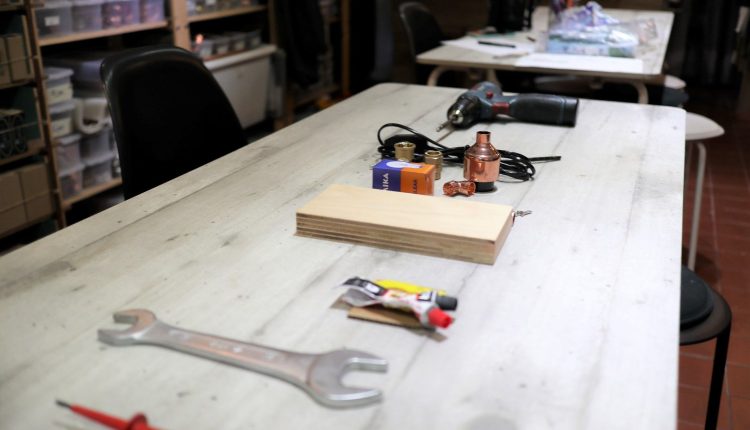
The session started with a quick walk-through of the different steps and the equipment /tools which we would be using to craft the copper lamp.

Before proceeding with each step, the instructor would advise us on the safety precaution we needed to take. It felt like we are attending one of the “Design&Technology (D&T)” lessons again, just like back in secondary school.
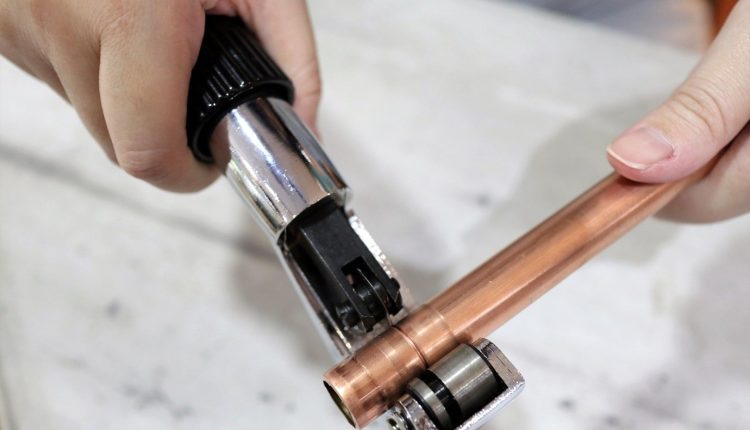
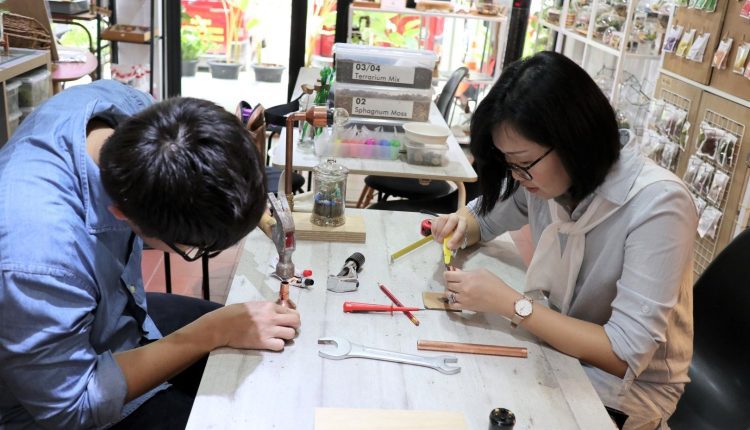
We had a lot of fun “fighting” over the tools as both of us wanted to play with it. It had been a long time since we had so much fun playing with “machinery”.
Break (Approx 10 minutes)
After building our copper lamp, we were given a break while the instructor prepares the table for the next activity. If you take up their package, you will be given 2 drinks and a box of muffins. We took the opportunity to walk around the room and snap some photos.
Terrarium Workshop (Approx 45 minutes)
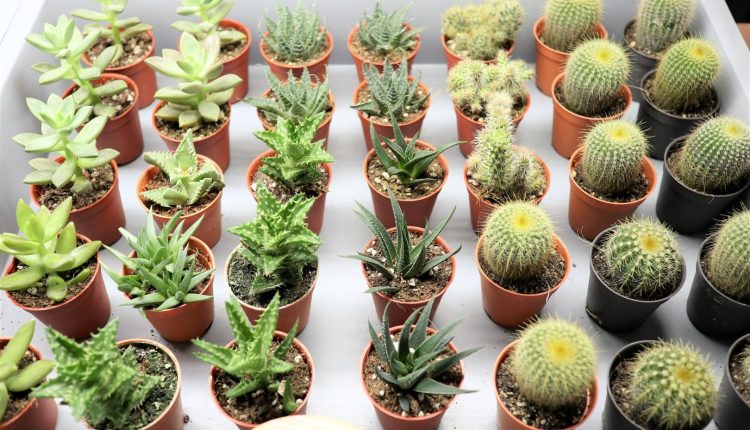
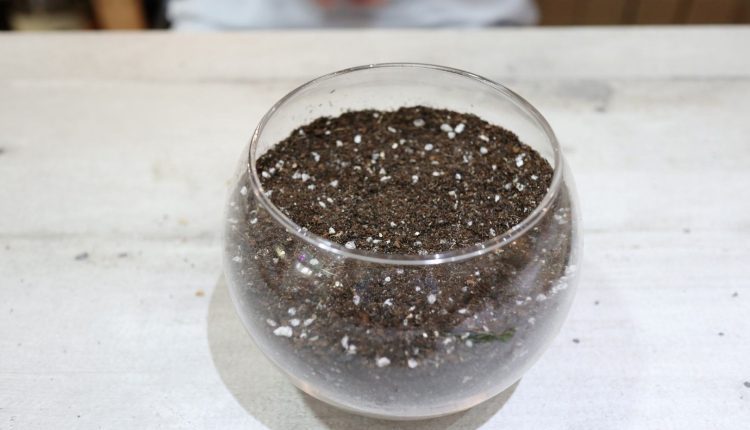
The 2nd part of the workshop is the highlight. We began by deciding with type of terrarium we preferred. The instructor told us that “Open Terrarium” plants require more frequent watering while a “closed Terrarium” requires more sunlight for the plant to grow. We choose the Open Terrarium as our study room does not have direct sunlight. We didn’t mind watering the plant more often. That’s the fun, isn’t it. Next, we got on to selecting a glass bowl and plant.
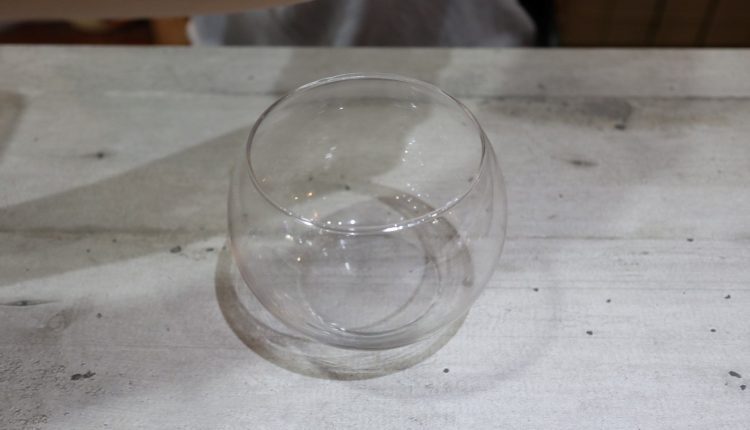
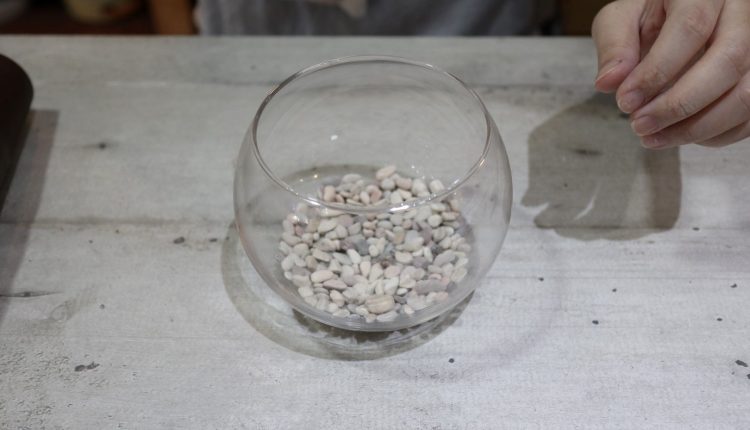
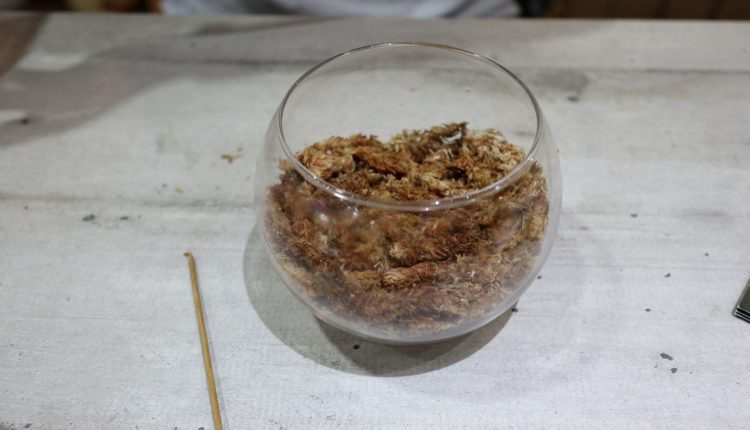
When we’ve selected our glass bowl and plant, the instructor began by introducing the different layers required to build a terrarium. We must say, MYO is very organized in clearly labeling each material we needed. With this, we had no problems following the instructions booklet provided. From here on, the instructor will leave you to get your creative juices flowing.

The best part of the terrarium is coming up with a “look” for your Terrarium. We decided to go with a “beach” theme with the plant on a slope.
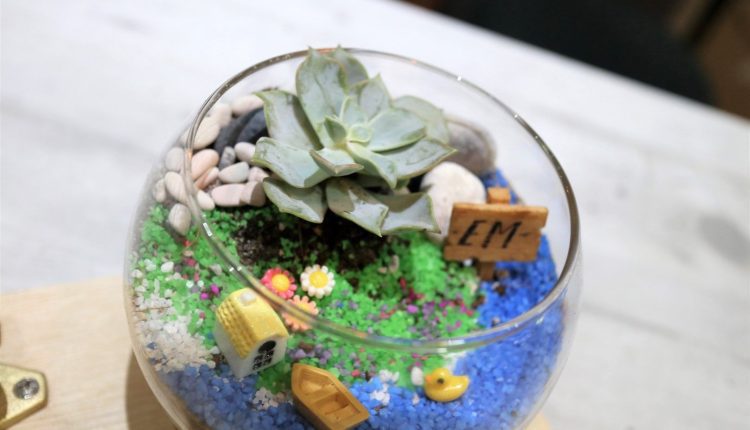
The instructor ended the Terrarium workshop by sharing tips to care for our newly crafted terrarium. We were given a card with 7 quick tips. I find it very useful for first-time terrarium owners.
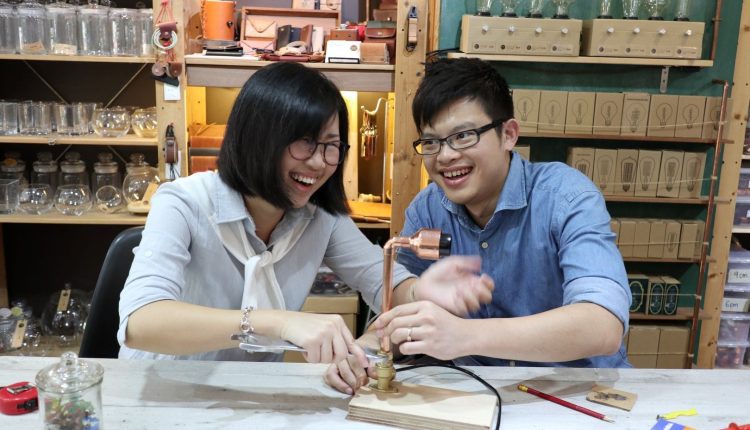
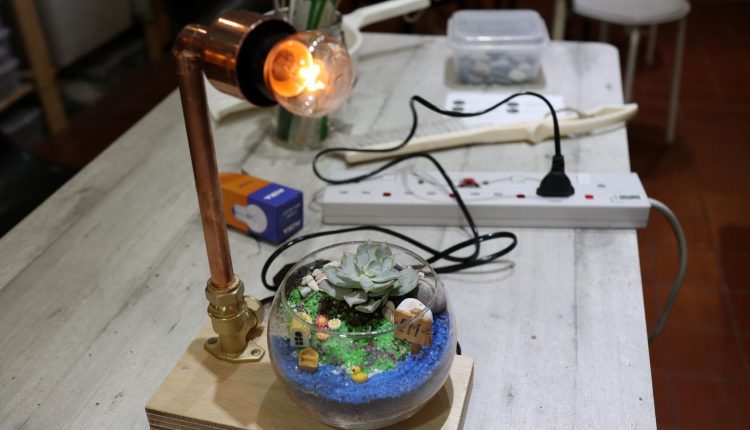
Our Final Product – Copper Lamp and Terrarium
After crafting the terrarium, it was time to put everything together. Copper Lamp and terrarium success!
Afterword
We enjoyed our 2-hour workshop where we crafted a copper bedside lamp and a simple terrarium jar. The steps provided were simple and easy to follow. MakeYourOwn has managed to simplify the workshop for anyone who wants to learn the basics about the copper lamp and terrarium. We would highly recommend the workshop to couples or group of friends who want to find an activity to bond over. Huge sense of satisfaction guaranteed!